Prepare a certificate
Most of the standalone third party tools installed on NAISS resources
and your own machine will not be able to use a .p12 certificate
bundle (or .pfx if you exported from Edge), as that format is intended
primarily for secure transport and backup of certificates and their
private keys.
Instead of a single .p12 file, they expect a pair of files in .pem
format, one containing the certificate and the other containing the
private key that matches the certificate.
Uploading and conversion of the .p12 for your target machine
As the authentication methods for clusters differ, this section will defer to documentations for your particular site when it comes to transferring files to and from the cluster storage.
The goal is to end up with a .globus directory in your home directory,
containing two files named usercert.pem and userkey.pem.
The instructions below assume that your exported certificate file is
named certs.p12 directly in your home directory. If it's a .pfx or
with a different name, change certs.p12 in the instructions to your
actual filename or rename your file to certs.p12.
- Transfer the
certs.p12file to your home directory on the cluster. - Get an interactive shell on the login node, via ssh.
-
If an .globus directory already exists, rename it with something like
mv ~/.globus ~/.globus-old -
Create the directory with
mkdir ~/.globuschmod 0700 ~/.globus -
Extract and protect the private key part of
certs.p12:openssl pkcs12 -nocerts -in ~/certs.p12 -out ~/.globus/userkey.pem -
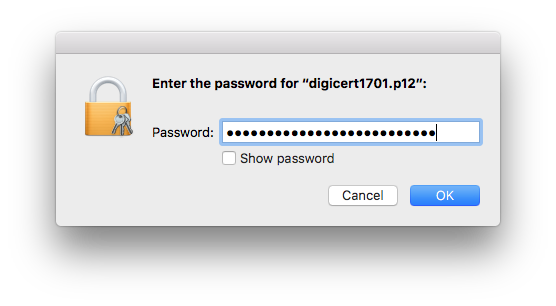
When asked for import password, specify the password specified when exporting the certificate bundle from your browser. The PEM pass phrase should be a new password that you need to provide whenever using the certificate for tasks like generating a proxy certificate. The output from this command will be similar to the following:
    Enter Import Password: *******
    MAC verified OK
    Enter PEM pass phrase: *******
    Verifying - Enter PEM pass phrase: *******
-
Extract the public client certificate part of
certs.p12:openssl pkcs12 -clcerts -nokeys -in ~/certs.p12 -out ~/.globus/usercert.pem -
The output will be similar to the following:
    Enter Import Password: *******
    MAC verified OK
-
Finally ensure that only your user is allowed to read the private key file. This is important, both for security and due to some tools refusing to use private keys with insufficient restrictions.
chmod 0400 ~/.globus/userkey.pem
MacOS Keychain
General
Most applications on macOS (previously named OS X) uses Keychain, the operating system certificate store, to avoid forcing users to add/import the certificate in all applications where it's used.
This procedure describes how to add a client certificate to the login Keychain using the Keychain Access utility.
The common reason for having to do this is having used the Firefox web browser to obtain a client certificate and you wish to make it available to other applications (for example Safari and Cyberduck).
Instructions
-
Launch Keychain Access by opening Finder and navigating Applications -> Utilities -> Keychain Access
-
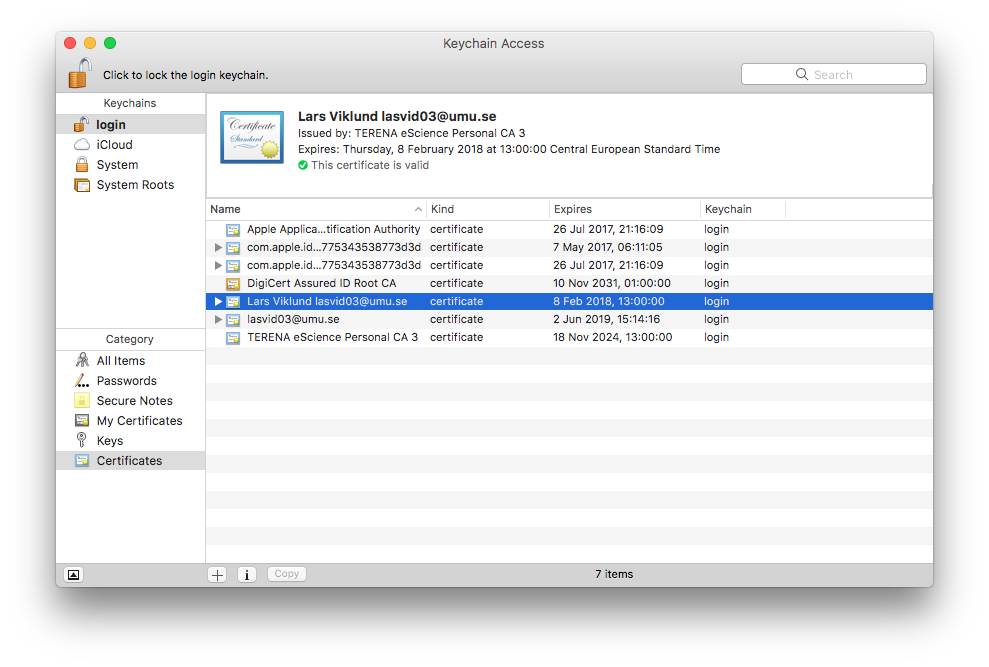
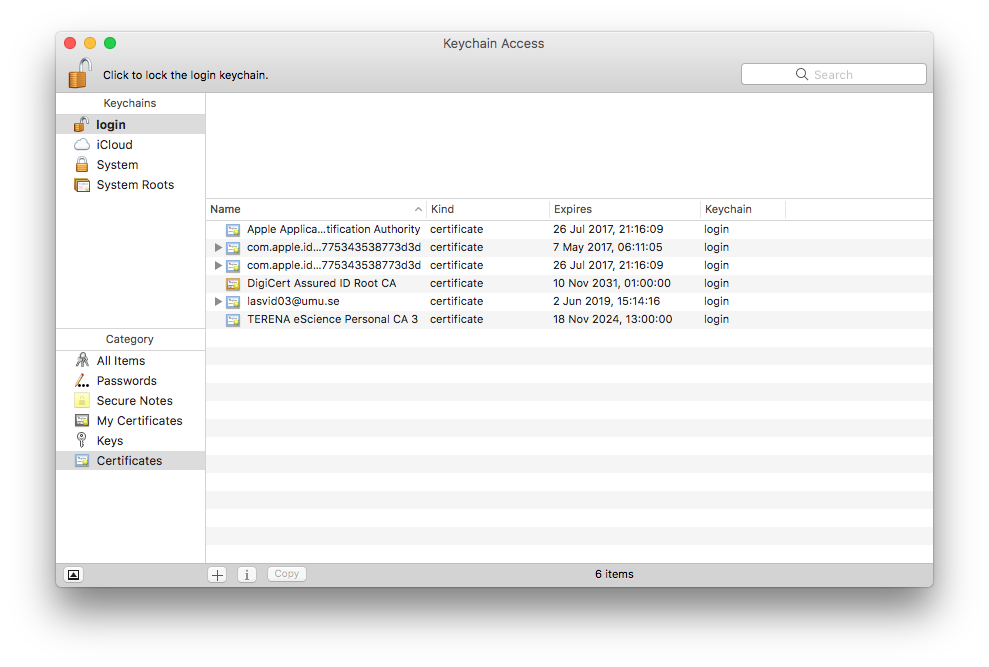
Make sure the login keychain is selected.
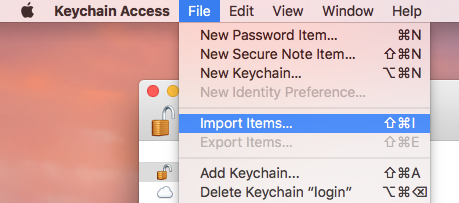
- Import Items... on File menu.
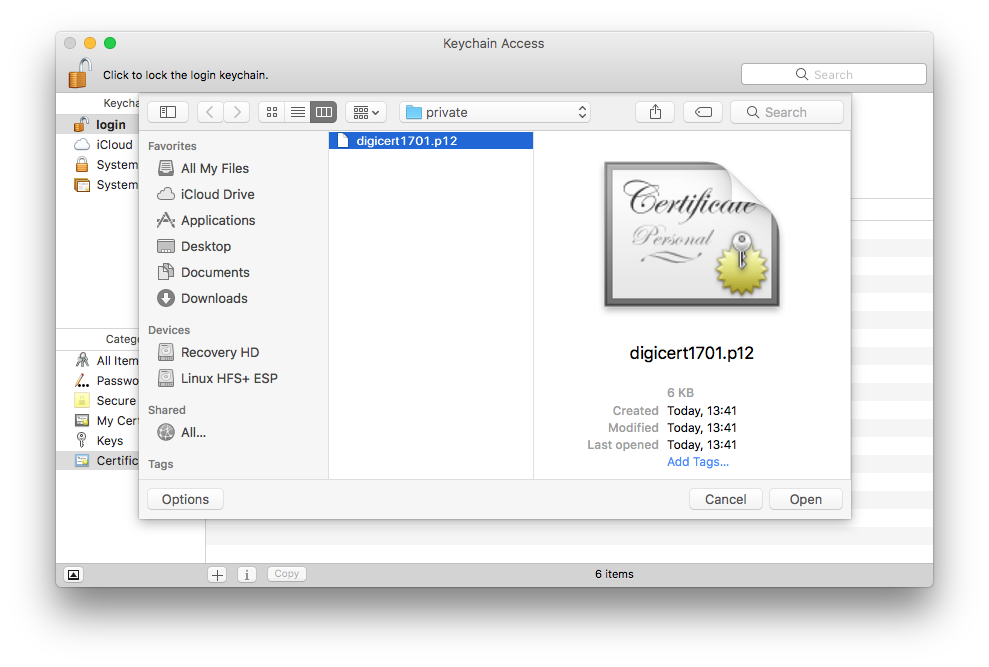
- Locate the certificate backup made from Firefox or other web browser.
- Enter the password chosen backup time which protected the certficate and key backup.
- If successful, the imported certificate should appear in the list of certificates for the login keychain.